How to configure EtherCAT communication on Omron for C3 valve island with XB6S-XBF02
Article Overview
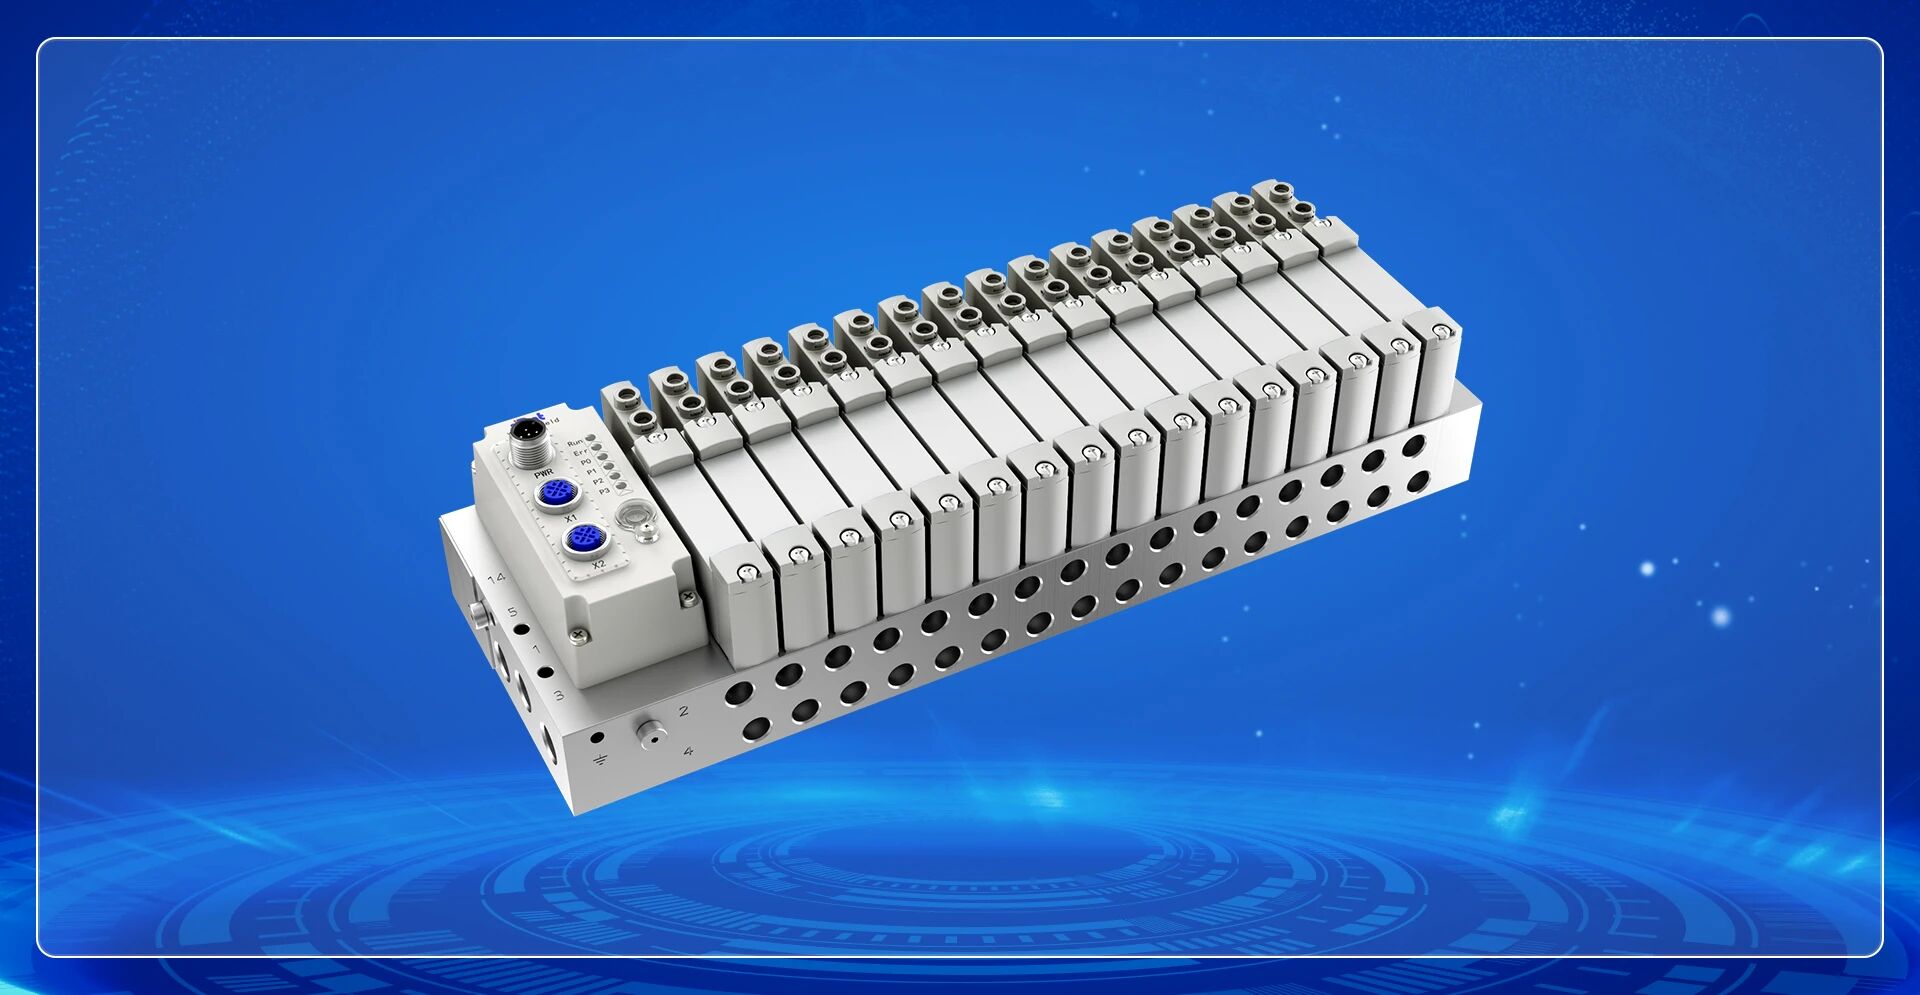
1. Demo Products
C3 Series Valve Island + XB6S-XBF02+XB6S-EC2002
2. Communication Protocol
EtherCAT
3. Configuration Tool
Sysmac Studio (requires import of XB6S-EC2002 XML file)
4. Compatible Master
Omron PLC (NX/NJ Series)
5. Configuration Result
Complete software configuration, topology scan and I/O mapping, enabling normal communication between C3 valve island and PLC
How to configure EtherCAT communication for the C3 valve island with XB6S-XBF02 module on Omron Sysmac Studio? The complete configuration process consists of four steps: import the ESI XML file of XB6S-EC2002 and complete software configuration, set the module node address, complete topology configuration, download the program to the PLC, and complete I/O mapping. This article details each step.
I. Software Configuration
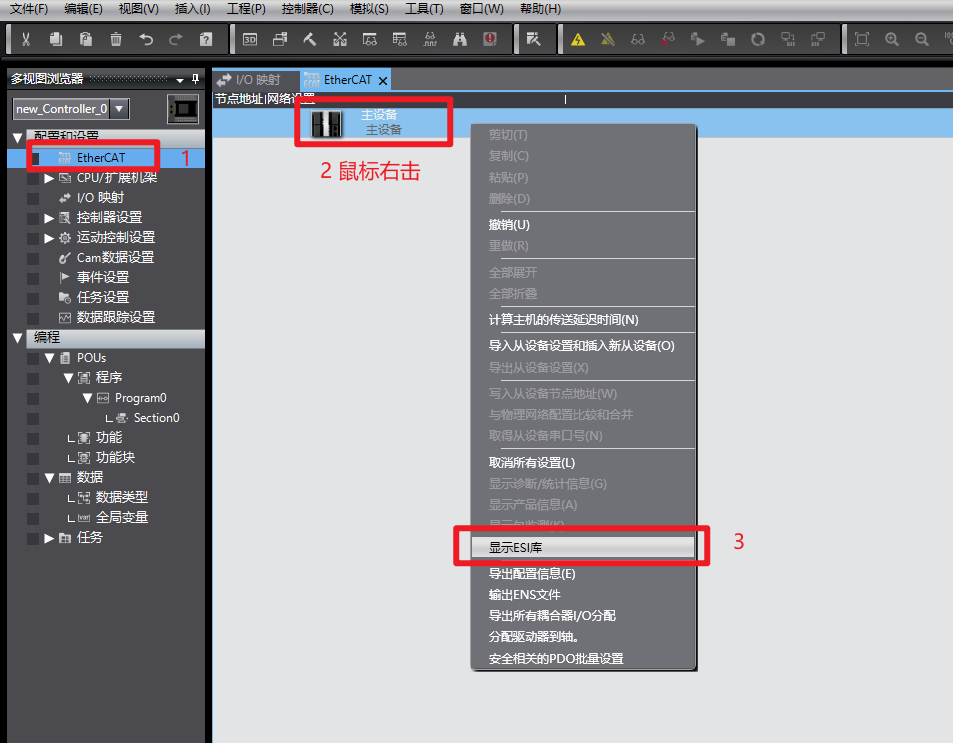
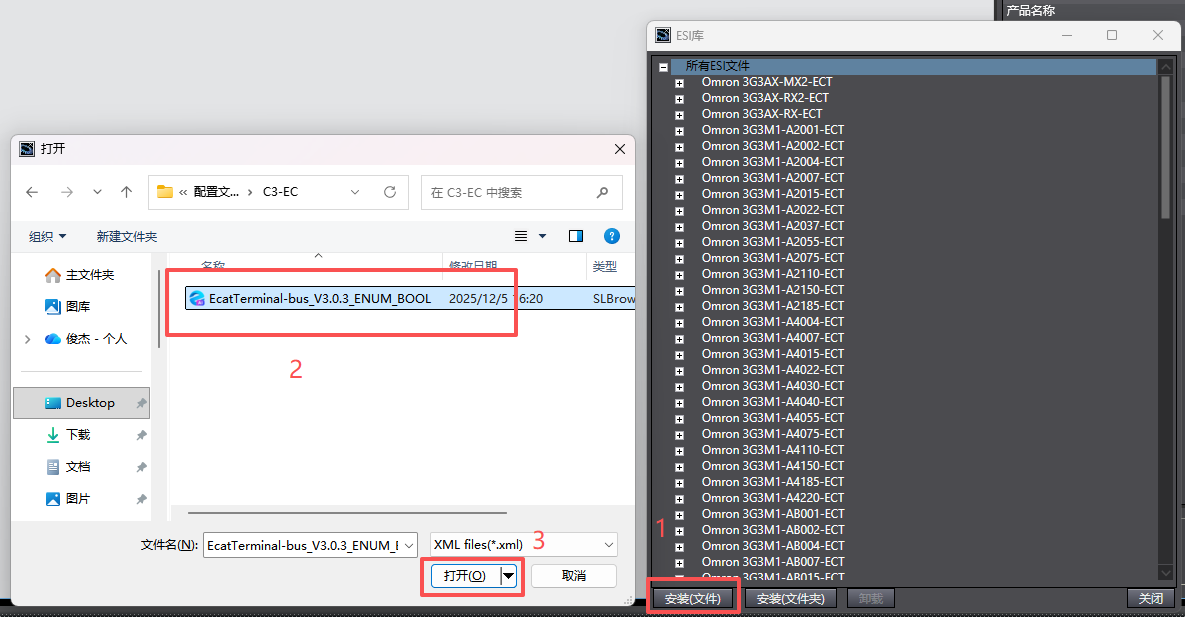
1. Install XML File
In Sysmac Studio, expand "Configuration and Setup", double-click "EtherCAT" to enter the network settings screen. Right-click "Master Device" and select "Show ESI Library" → "Install (File)". Locate the downloaded XML file for XB6S-EC2002, click "Open" to complete the installation.
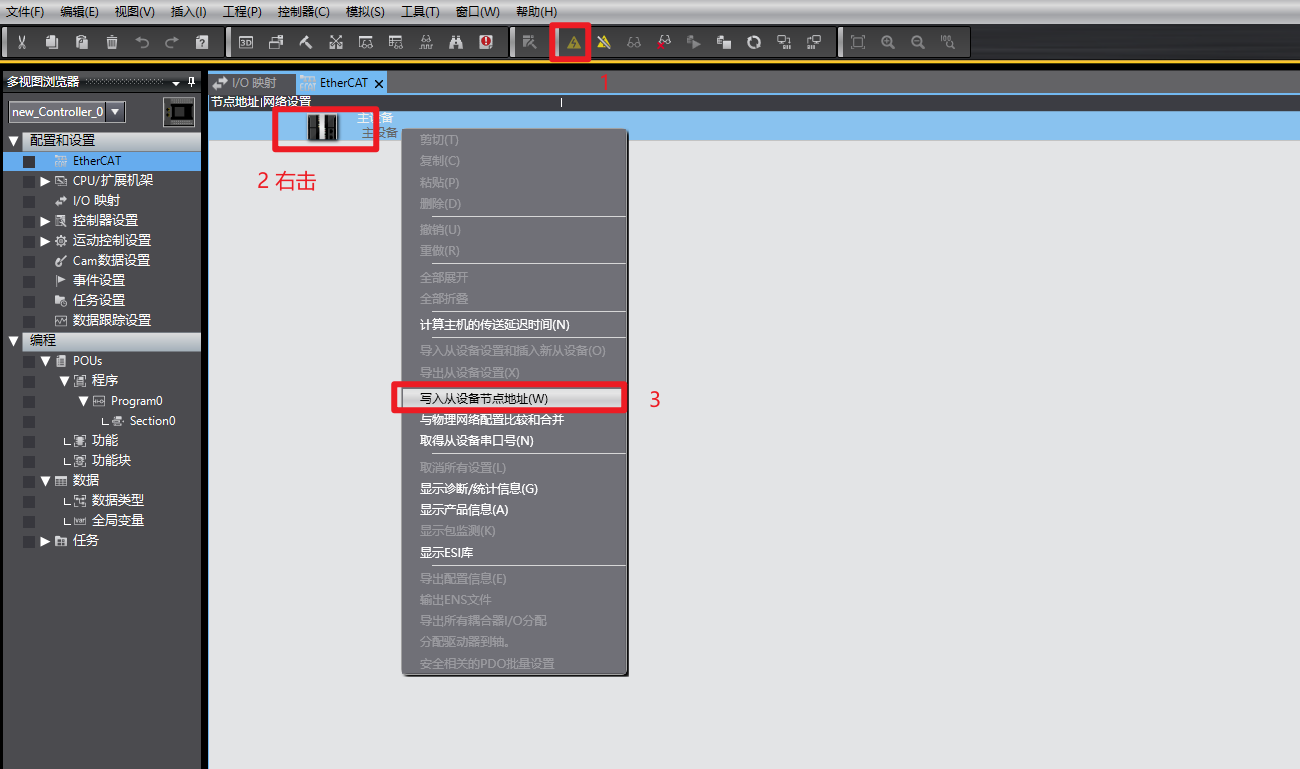
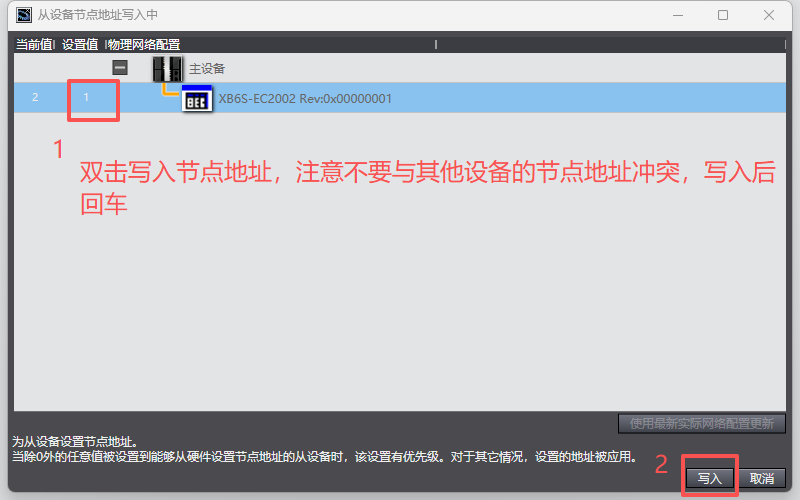
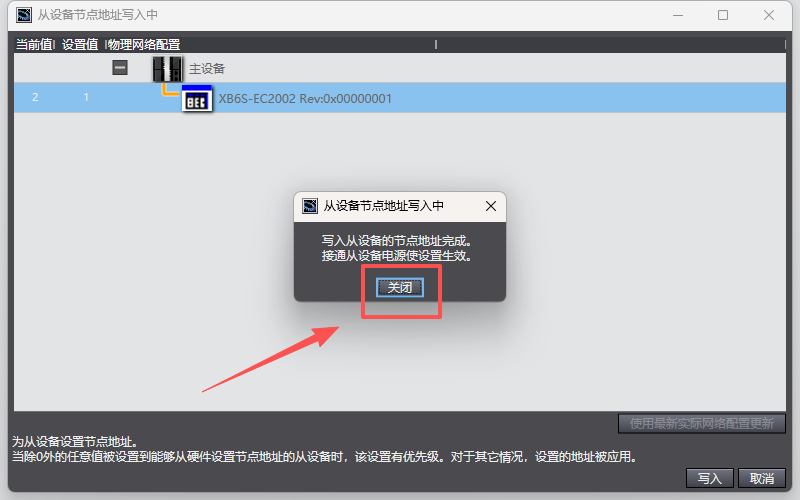
2. Set Module Node Address
Switch Sysmac Studio to online mode. Follow the steps shown in the figures to write the node address. After writing, power cycle the module for the setting to take effect.

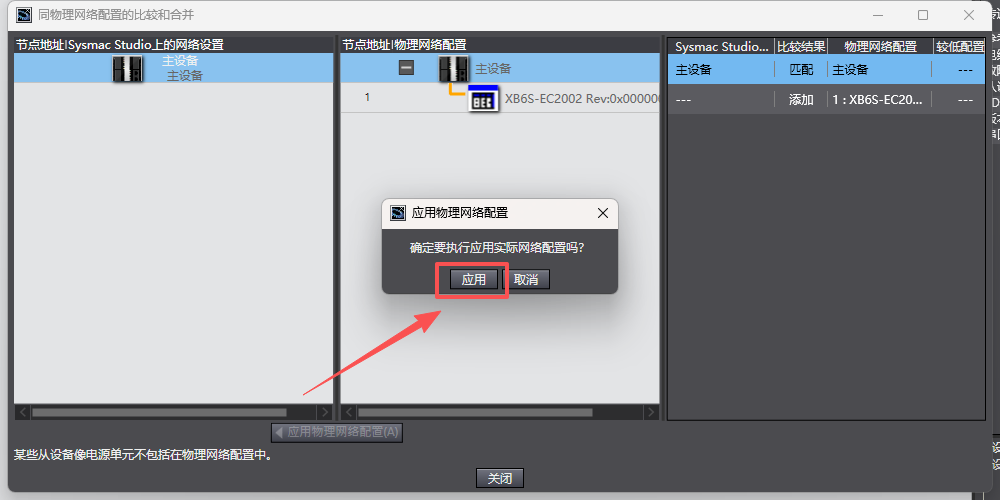
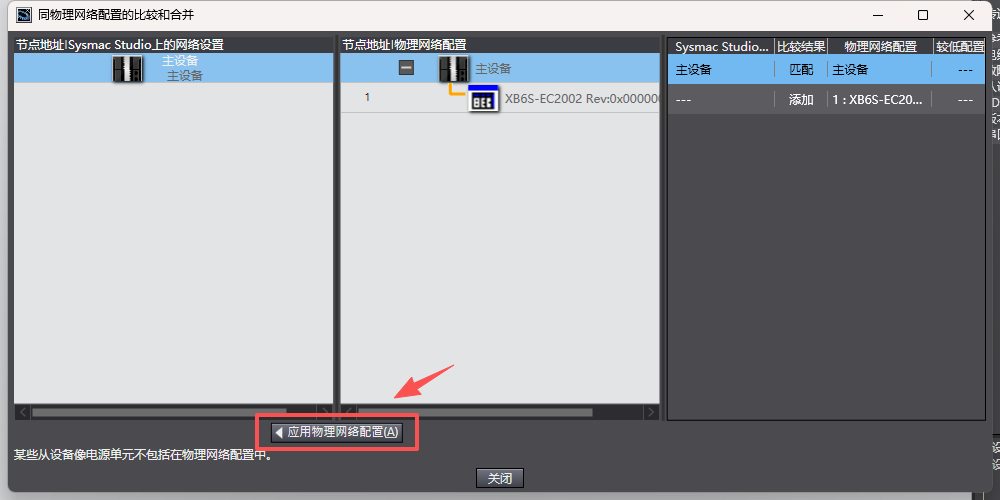
3. Topology Configuration
Switch to online mode and follow the steps shown to complete topology configuration scanning.

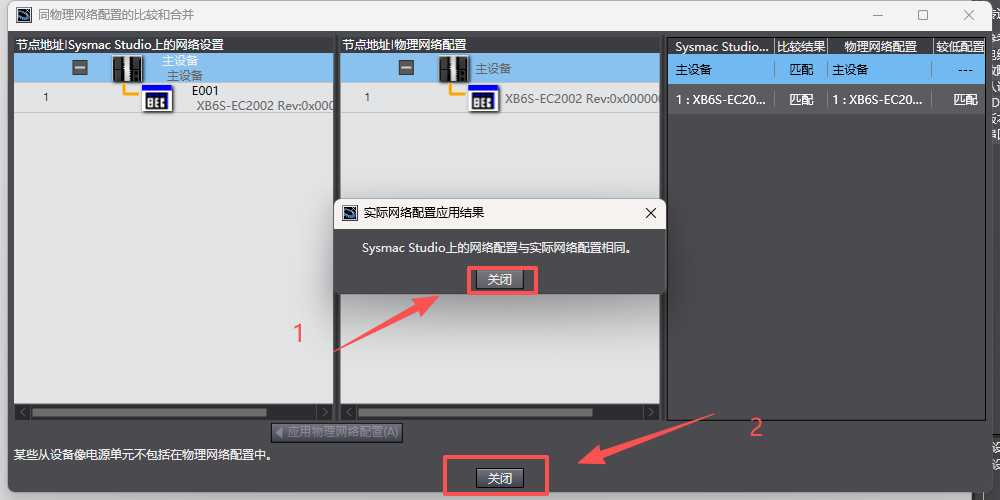

At this point, the configuration is complete.
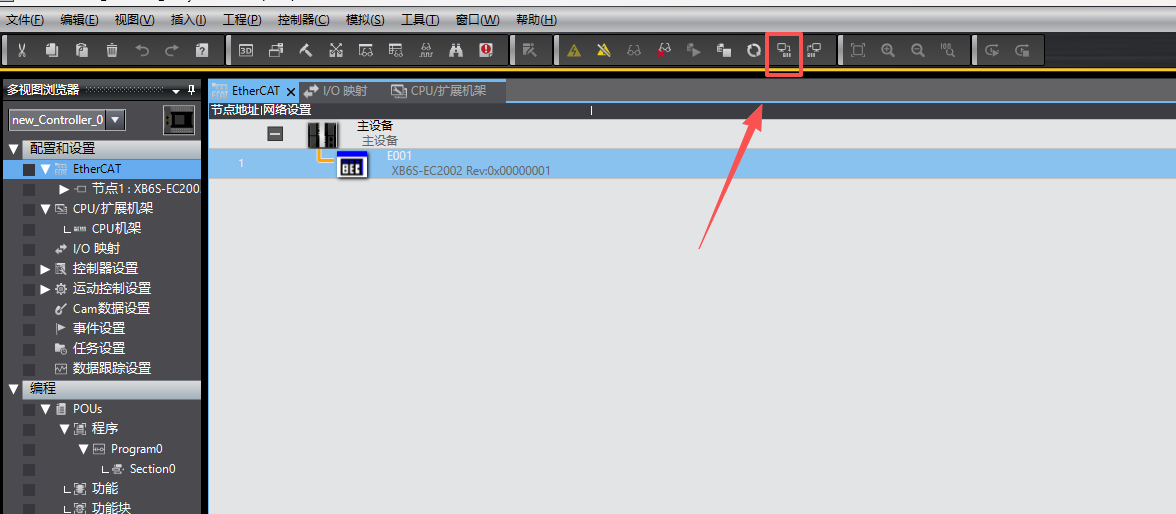
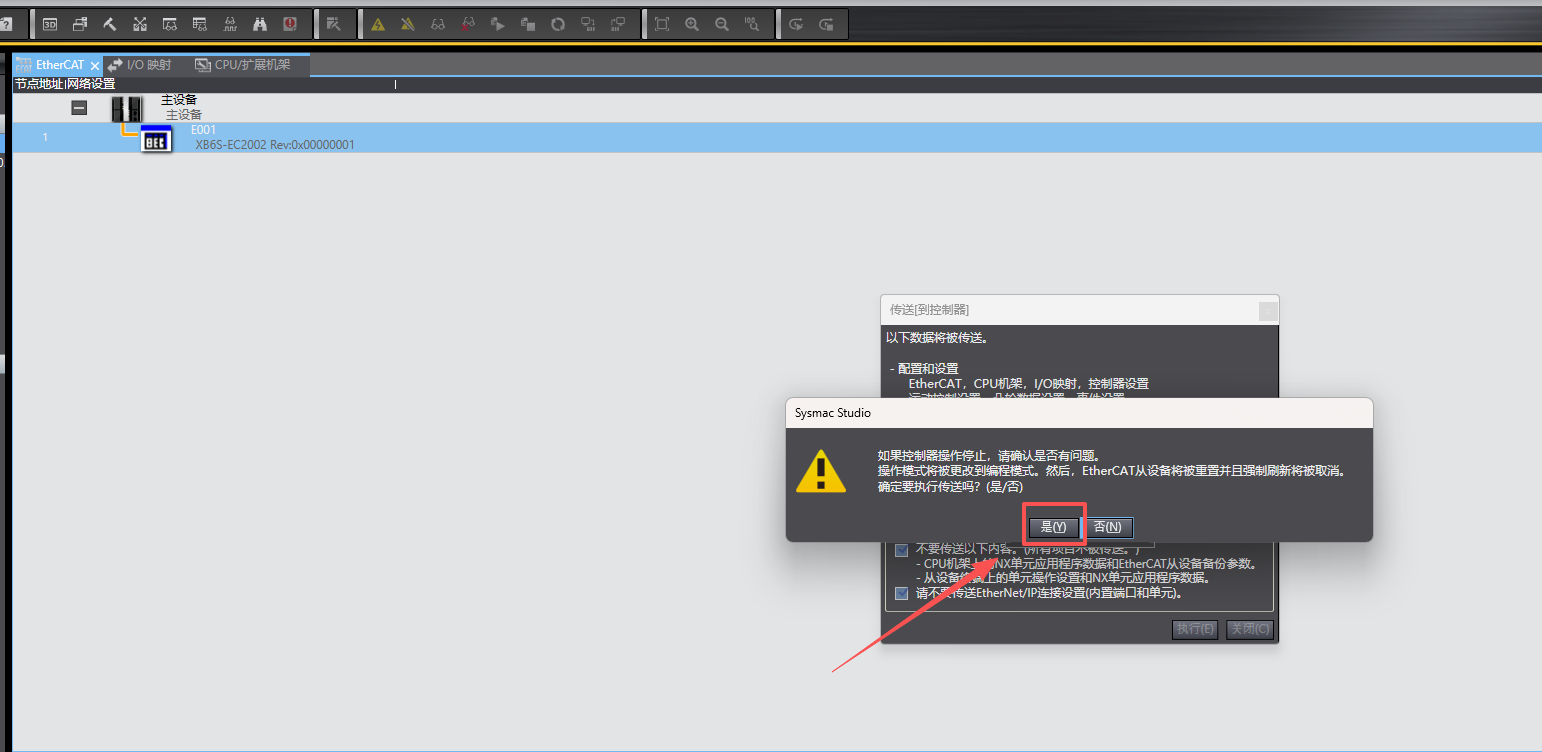
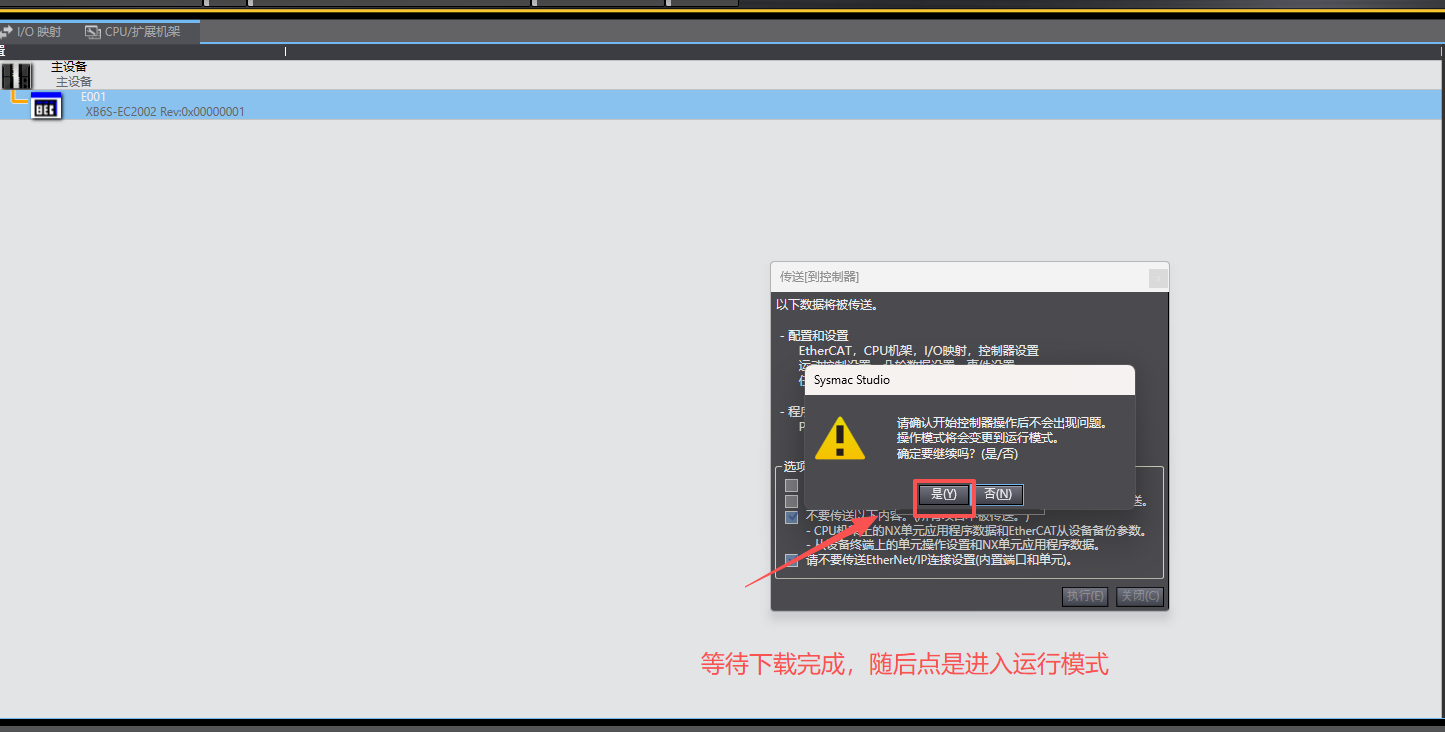
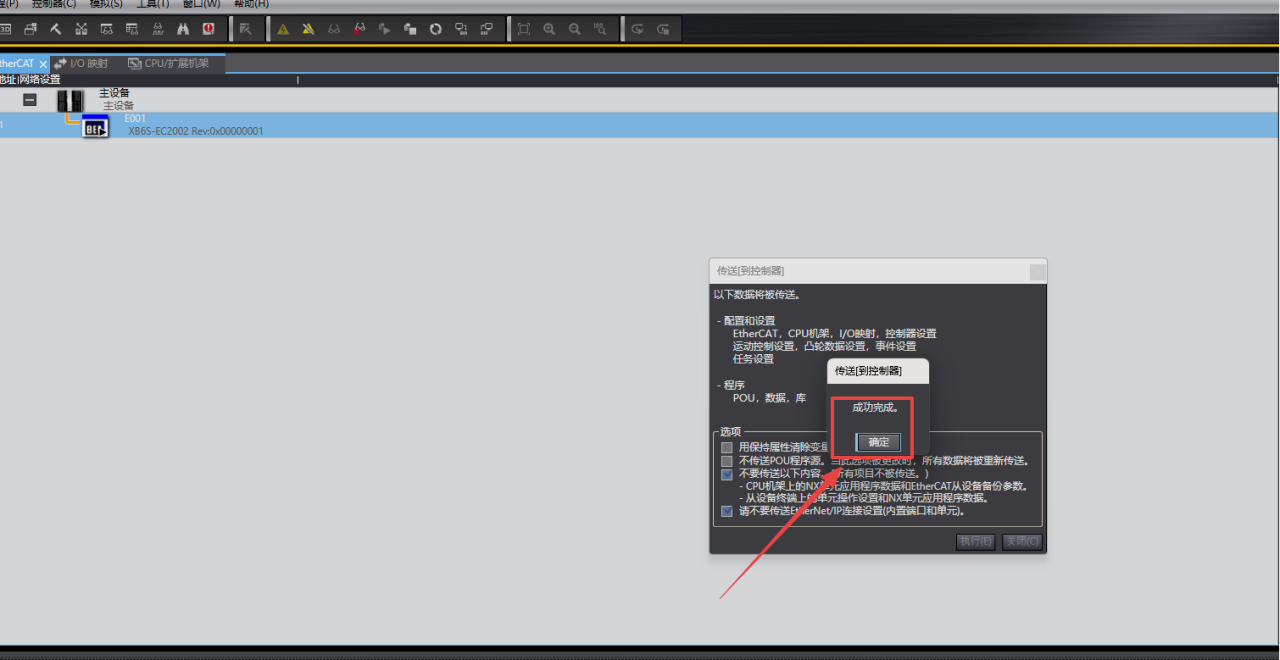
4. Download Program
After completing configuration, download the program to the PLC following the steps shown.
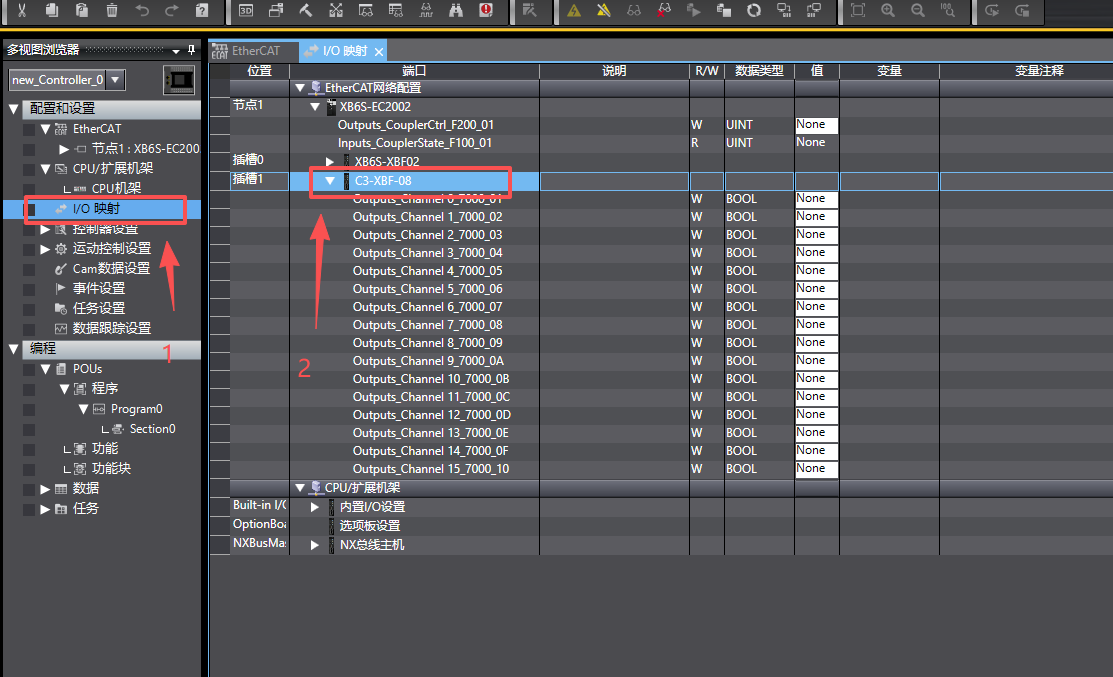
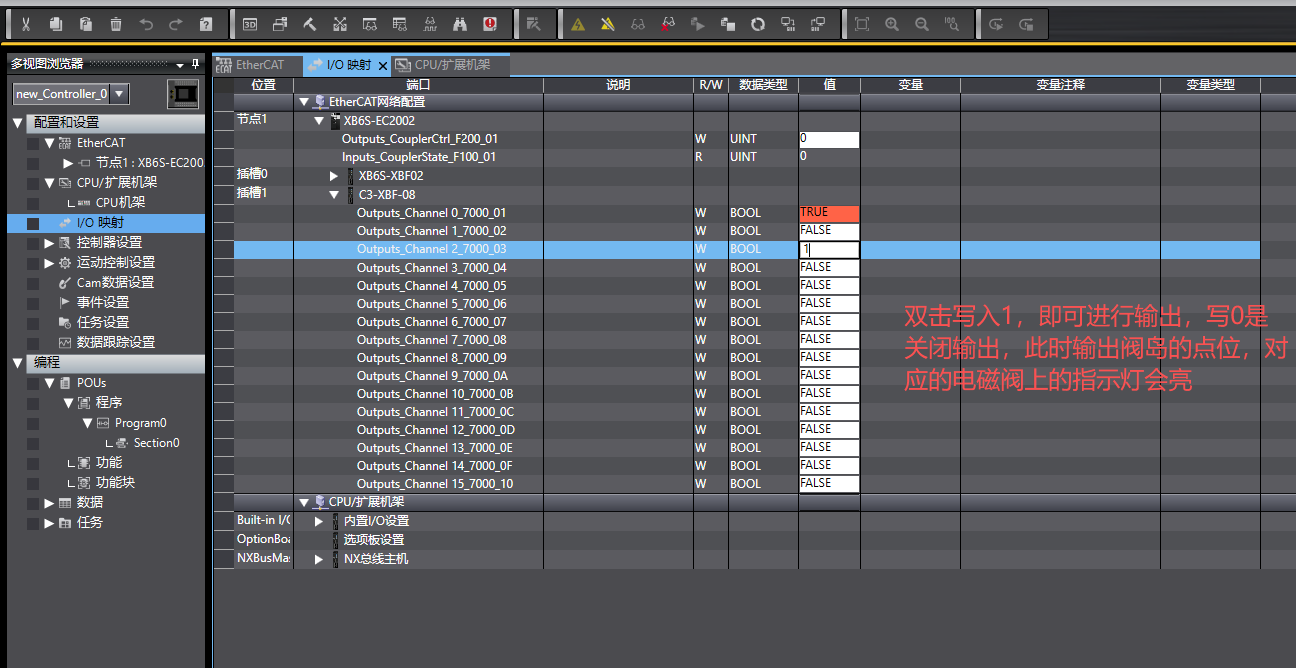
II. I/O Mapping and Communication Verification
After the above configuration, the module can establish EtherCAT communication with the PLC. Double-click the I/O module mapping, locate the corresponding valve island module, expand it, and double-click the "Value" column to write 1 for forced output. After output, the indicator light on the solenoid valve at the corresponding point of the valve island will also illuminate.